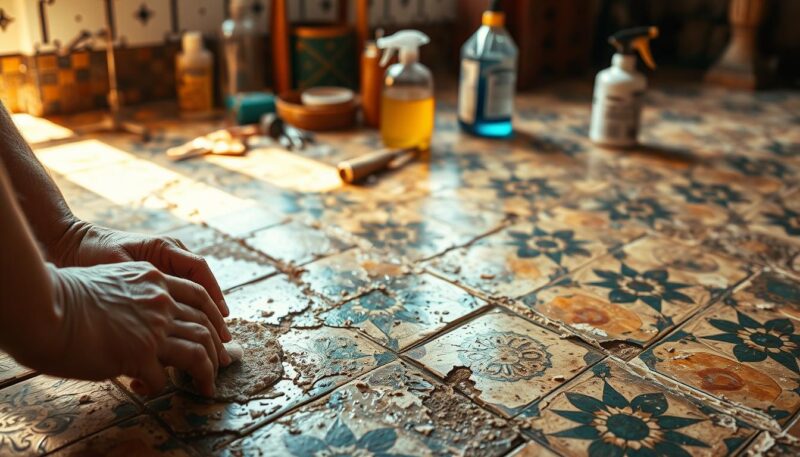
Old tiles in kitchens, bathrooms, and other areas of the home can lose their luster over time due to daily wear and tear, accumulation of dirt, and exposure to moisture. As a result, the original polished sheen is often replaced with a dull, faded appearance.
Restoring old tiles is a cost-effective alternative to complete replacement, saving homeowners significant time and money. The restoration process involves several key steps, including assessing the condition of tiles, deep cleaning, reviving grout, and implementing proper maintenance routines. For more detailed guidance on reviving bathroom tiles, you can refer to resources like this guide. With the right techniques and products, even severely worn tiles can be brought back to life.
Understanding Your Old Tiles
Restoring old tiles requires a thorough understanding of the type of tiles you’re dealing with. Old tiles can be found in various forms, dimensions, and hues, particularly those from the Victorian era, which emerged in the 1800s.
Types of Old Tiles and Their Characteristics
Different types of old tiles include ceramic, porcelain, encaustic, geometric, and Victorian-era tiles. Each type has unique characteristics that affect their cleaning and restoration approaches. For instance, ceramic tiles, common in older homes, feature a glazed surface that can become scratched or worn over time. Porcelain tiles are denser and more durable but can still develop surface issues.
Assessing Tile Damage and Wear
Before beginning any restoration work, a thorough assessment of tile damage is essential. Look for cracks, chips, loose tiles, or areas with missing tiles. Take note of any stains, dirt, or grime that may have accumulated over the years. The location of tiles, such as in the bathroom or kitchen, impacts the type of damage they typically sustain. Bathroom tiles often suffer from mold and mildew issues, while kitchen tiles frequently have grease and food stain problems.
Assessing the condition of grout is equally important as it can deteriorate faster than the tiles themselves and significantly affect the overall appearance of the tiled area.
Deep Cleaning to Restore Old Tiles

Deep cleaning is the crucial first step in restoring old tiles to their former glory. This process involves different approaches depending on the location and type of tiles being treated. By understanding the specific cleaning needs of your tiles, you can effectively remove dirt and grime, bringing back their original shine.
Kitchen Tile Cleaning Techniques
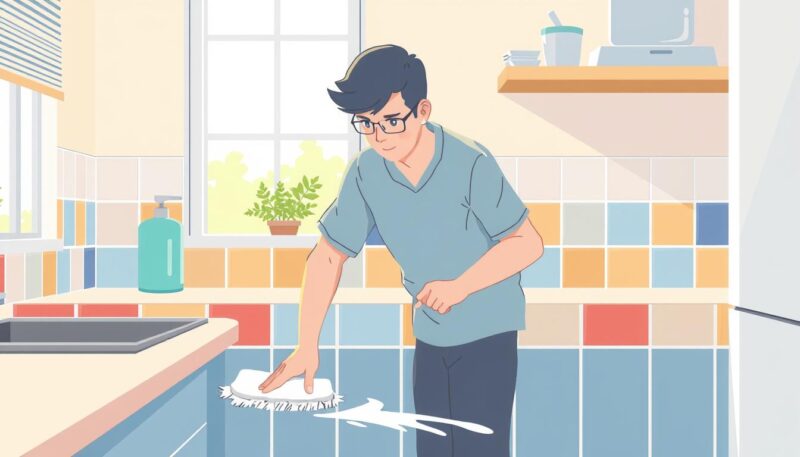
For kitchen tiles, the primary challenge is removing accumulated grease and food residue. Start by spraying them with a degreaser and wiping with a clean cloth. Next, scrub the tiles with washing up liquid mixed with warm water using a brush or sponge, avoiding abrasive materials that can damage the glazing.
Bathroom Tile Restoration Methods
Bathroom tile restoration requires addressing mineral deposits, limescale, and soap scum. Begin by running hot water for a few minutes to encourage the pores of your tiles to open up. Then, apply a paste made from baking soda and vinegar to the tiles using a non-abrasive brush or sponge, effectively cleaning stubborn grime without harsh chemicals.
Natural vs. Commercial Cleaning Solutions
Natural cleaning solutions, such as baking soda and vinegar paste, are highly effective for both kitchen and bathroom tiles. They provide powerful cleaning action without damaging older tile surfaces. Commercial cleaners can also be used but must be selected carefully, looking for pH-neutral formulations specifically designed for the type of tile you’re cleaning. Always test in an inconspicuous area first.
The cleaning technique is as important as the solution used. Employ gentle, consistent scrubbing motions rather than aggressive scrubbing that might damage the tile surface. For particularly stubborn stains on floor tiles, allowing the cleaning solution to dwell for 10-15 minutes before scrubbing can improve results. After cleaning, thorough rinsing with clean water is essential, followed by drying the tiles completely to prevent water spots and reveal the true results of your cleaning efforts.
Reviving Grout Between Tiles

Restoring old tiles to their former glory often reveals that the grout between them remains a challenge. Grout, being porous and usually light-colored, is prone to staining, mold, and mildew, especially in moisture-rich environments like bathrooms.
Removing Mold and Mildew from Grout
Before deep cleaning grout, it’s essential to eliminate any visible mold or mildew using an antifungal spray. This step is crucial to prevent the regrowth of mold and mildew after cleaning. For effective removal, apply the antifungal spray liberally and let it sit for a few minutes before rinsing.
Grout Cleaning Solutions and Techniques
For effective grout cleaning, a paste made from baking soda mixed with vinegar or lemon juice is highly effective. Apply this paste to the grout using a toothbrush or a dedicated grout brush. Scrub thoroughly and then rinse with clean water. This method is gentle on the surrounding tiles and can significantly improve the appearance of the grout.
Regrouting and Grout Pens for Severe Cases
In cases where the grout is severely stained or damaged beyond cleaning, consider using grout pens to refresh its appearance. Grout pens apply a layer of colored sealant that can significantly improve the look without the need for full regrouting. For grout that is crumbling or missing, regrouting is necessary. This involves removing the old grout with a grout saw, cleaning the area, and applying new grout.
Sealing newly cleaned or replaced grout is essential for long-term protection, particularly in wet areas. For DIY regrouting projects, working in small sections ensures a proper application and finish before the grout begins to set.
How to Restore Old Tiles with Repairs and Refinishing
With the right approach, it’s possible to restore old tiles to their former glory without replacing them. Restoration involves a combination of repairs and refinishing techniques that can breathe new life into worn-out tiles.
Fixing Scratches, Chips, and Cracks
Minor damage to tiles, such as scratches, chips, and hairline cracks, can often be repaired without replacement. For scratched tiles, a simple fix can be applying nail polish to minor scratches. For deeper damage, specialized tile repair kits are available. When it comes to chips and cracks, filling them with epoxy is a viable solution. It’s crucial to choose a 2-part epoxy specifically designed for bonding stone and other porous materials. The repair process requires careful preparation, including cleaning the damaged area with rubbing alcohol, precisely mixing and applying the epoxy, and allowing proper curing time.

The key to a successful repair is matching the color of the epoxy to the original tile color as closely as possible. This ensures an invisible repair. For more extensive damage, it may be necessary to consider more comprehensive restoration methods.
Reglazing Process for Ceramic and Porcelain Tiles
For tiles with severely worn or damaged glazing, reglazing offers a comprehensive solution. This process involves thorough cleaning, light sanding of the existing surface, application of bonding agents, and then applying specialized tile glaze in multiple thin coats. While DIY reglazing kits are available, professional reglazing often yields superior, longer-lasting results, especially for bathroom tiles that experience high moisture exposure. Reglazing can completely transform the appearance of ceramic or porcelain tiles, restoring them to their original luster.
When to Consider Tile Replacement
Not all damage can be repaired. Extensive cracking, loose tiles, water damage beneath tiles, or situations where repairs would be more costly than replacement are scenarios where tile replacement is the better option. When replacing individual tiles, finding exact matches for vintage or discontinued patterns can be challenging. Specialty restoration suppliers or architectural salvage yards may offer solutions in such cases.
In conclusion, restoring old tiles requires a thoughtful approach to repairs and refinishing. By understanding the extent of the damage and choosing the appropriate restoration method, homeowners can save time and money while preserving the original tilework.
Maintaining Your Restored Tiles
Once you’ve restored your tiles, maintaining their condition is vital to extending their lifespan. Proper maintenance not only preserves the results of your restoration efforts but also prevents the need for future intensive work.
Establishing a regular cleaning routine is crucial. Daily sweeping or vacuuming removes abrasive dirt and debris that can scratch tile surfaces over time. Weekly mopping with mild, pH-neutral cleaners helps maintain the shine without damaging the grout or stripping sealants.
Preventative measures significantly extend the life of your tiles. Placing mats at entrances catches dirt and moisture, while using furniture pads prevents scratches. Immediate cleanup of spills prevents staining. For bathroom tiles, regular ventilation and wiping down shower walls after use reduce mold and mildew development.
Periodic resealing of both tiles and grout, typically every 1-2 years, provides essential protection against moisture and staining. Different tile types require specific care; natural stone, ceramic, and porcelain tiles each have unique needs. Avoid using harsh chemicals, abrasive scrubbers, or steam cleaners on sealed or delicate tiles.
By following these maintenance tips and being mindful of the products you use, you can keep your restored tiles looking their best for years to come.
FAQ
What is the best way to clean grout between tiles?
For effective grout cleaning, mix baking soda and water to form a paste, and apply it to the grout. Let it sit for 15-30 minutes before scrubbing with a brush and rinsing with warm water. For tougher stains, consider using a grout cleaner or a solution of equal parts water and white vinegar.
Can I use harsh chemicals to clean my old tiles?
No, it’s not recommended to use harsh chemicals, as they can damage the tile surface, discolor the grout, or cause etching on natural stone tiles. Instead, opt for gentle cleaning products or natural alternatives like baking soda and vinegar.
How often should I clean my tiles to maintain their shine?
Regular cleaning is essential to maintain the shine and longevity of your tiles. Sweep or vacuum the floor regularly, and mop with a gentle cleaner every 1-2 weeks, depending on foot traffic and usage.
What is the best method to remove mold and mildew from grout?
To remove mold and mildew, apply a solution of equal parts water and bleach to the affected area. Let it sit for 10-15 minutes before scrubbing with a brush and rinsing with warm water. Ensure good ventilation and wear protective gloves when using bleach.
Can I reglaze my tiles, or do I need to replace them?
Reglazing is a viable option for ceramic and porcelain tiles that are in good condition but have lost their shine. However, if your tiles are cracked, chipped, or severely damaged, it may be more cost-effective to replace them.
Are epoxy grout pens effective for grout repair?
Yes, epoxy grout pens can be an effective solution for minor grout repairs. They are easy to use and can help restore the appearance of your grout. However, for more extensive damage, consider regrouting or consulting a professional.
What maintenance tips can help extend the life of my restored tiles?
To extend the life of your restored tiles, avoid using abrasive cleaners or scrubbers, and clean spills promptly. Regularly inspect your grout and tiles for signs of wear, and address any issues promptly to prevent further damage.

